
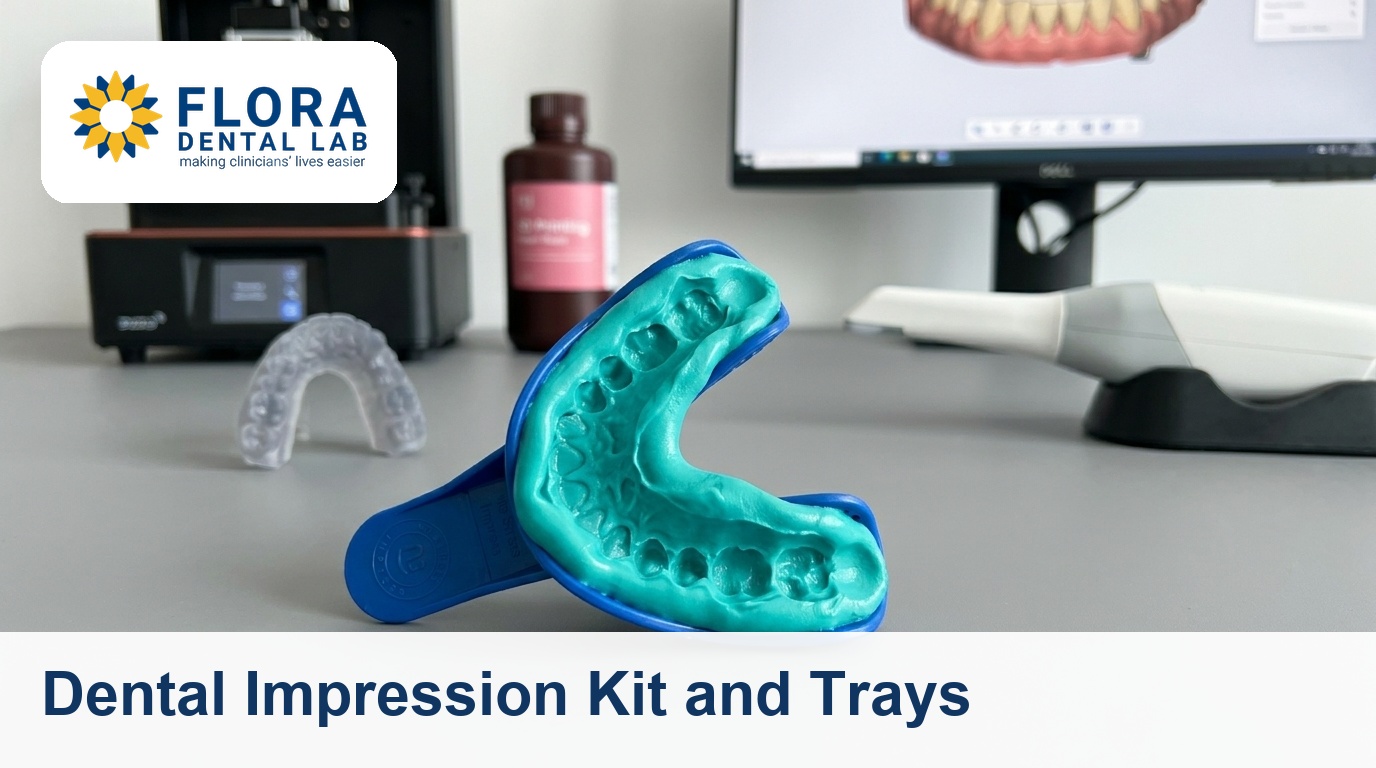
A practical guide to conventional impressions and trays. We cover PVS and polyether materials, tray selection, putty wash technique, the errors that cause remakes, and exactly what we need from a chairside impression to fabricate a fitting restoration.
A conventional dental impression kit is the chairside materials and trays you use to capture a physical replica of the prepared teeth and arch for the lab. Most chairside errors that reach us are not material failures, they are tray, technique, or handling decisions made minutes earlier. If you have moved to a scanner, see how a digital dental lab handles both inputs.
What the Lab Actually Needs From an Impression
We do not need a pretty impression. We need a dimensionally accurate one with clean, readable margins and a stable seat we can pour or scan without distortion. Everything below works backwards from that.
- Margins: the full preparation finish line captured in continuous, void free detail, with a clear band of unprepared tooth beyond it.
- Adjacent contacts: the mesial and distal of neighbouring teeth recorded so we can build contacts that seat without binding.
- Opposing and bite: an opposing arch and an accurate interocclusal record so the restoration is in occlusion before it leaves us.
- Stability: material fully bonded to a rigid tray, with no pull, drag, or rebound on removal.
If any of these four are missing, the model is wrong before fabrication starts, and the remake clock starts with it.
Impression Material: PVS vs Polyether
For fixed prosthodontics the choice of impression material is effectively between addition silicone (PVS, also called VPS) and polyether. Both are accurate enough for crown and bridge. The differences are handling, not headline precision.
- PVS (VPS): hydrophobic by default though many are surfactant treated, excellent elastic recovery, dimensionally stable for days, forgiving on a delayed pour. The default for most crown and bridge cases.
- Polyether: hydrophilic and superb in a slightly moist sulcus, very stiff when set so it captures fine detail, but that same stiffness makes removal harder around undercuts and bridge abutments.
- Set contamination: latex gloves, retraction cord chemicals, and some haemostatic agents inhibit PVS set. Rinse and dry the prep, and keep latex away from the material.
- Viscosities: both come as putty, heavy, medium, and light body wash. You match viscosity to technique, which is the next decision.
We accept either. Tell us which you used on the lab docket if the case is borderline, because it changes how we handle and pour the model.
Choosing the Right Impression Tray
The dental impression tray is the rigid carrier that holds the material against the arch. A flexible or undersized tray distorts under set stress, and that distortion transfers straight to the die. Tray selection is not an afterthought.
- Stock metal trays: rigid, reusable, the safest default for full arch crown and bridge. Rigidity beats convenience here.
- Stock plastic trays: acceptable for study models and simple cases, but flex on removal of a stiff material. Avoid for multi unit fixed work.
- Custom trays: worth the lab step for full arch implant or complex fixed cases, giving uniform material thickness and minimal distortion.
- Fit and extension: the tray must clear the teeth by 2 to 3 mm all round and fully cover the arch and tuberosity or retromolar region. Too tight contacts the teeth and tears the wash.
- Adhesive: tray adhesive matched to the material, applied and dried for the full time on the box. Most pulls and lifts are skipped or wet adhesive.
The Putty Wash Impression Technique
The putty wash impression is the workhorse for single units and short spans. A high viscosity putty drives a low viscosity wash into the sulcus and across the margin. Done in one stage or two, the principle is the same: putty for bulk and support, wash for detail.
- One stage (single mix): putty and wash set together in one seat. Fast and avoids a reseating step, but needs brisk handling and good retraction so the wash reaches the margin before it sets.
- Two stage (putty then wash): putty taken first as a preliminary, relieved, then a wash reseated. More forgiving on margin detail, but the reseat must return to the exact original path or you double image.
- Spacer for two stage: use a polythene spacer sheet or pre cut relief on the first putty seat so the wash has room to flow. No relief means hydraulic pressure pushes the putty, not the wash, into the margin.
- Retraction first: no wash material records a margin it cannot reach. Cord, paste, or laser before the wash, so the sulcus is open and dry.
Matching viscosity to technique matters more than the brand on the box. A light body wash with a rigid putty and proper retraction beats an expensive monophase rushed over a bleeding margin.
Capturing a Readable Margin
The margin is the single most important thing we read off your impression. If we cannot see a continuous finish line, we guess, and a guessed margin is an open or over contoured one. Most margin problems trace back to moisture and retraction, not material.
- Open the sulcus: soft tissue must be displaced laterally and vertically so wash can flow past the finish line onto sound tooth. A subgingival margin with no retraction is invisible to us.
- Control moisture: blood, saliva, and sulcular fluid create voids and drags right at the margin. Dry the field, then seat without delay.
- Read it yourself: loupe the impression before you release the patient. If the margin is not continuous and sharp on your bench, it will not be on our die.
Subgingival margins are where conventional impressions earn their keep and also where they fail. If retraction is consistently fighting you, an intraoral scan can sometimes read a margin a wash cannot, which is the trade off we cover in our intraoral scanning guide.
Common Errors That Cause Remakes
These are the impression faults we see most often, in rough order of frequency. Each one is preventable chairside and each one means a new appointment if it reaches the lab.
- Voids and bubbles at the margin: trapped air or moisture leaves a blank where the finish line should be. Usually moisture control or a wash that set before it flowed.
- Pulls and drags: the tray moved or was removed before full set, or adhesive failed, leaving a stretched, double imaged margin.
- Tray show through: the tray contacted a tooth, so material is too thin there and tears or distorts on removal. A sizing or seating issue.
- Missing or thin opposing and bite: no usable opposing model or interocclusal record, so we cannot set the occlusion and have to guess vertical and contacts.
- Delamination: wash separated from putty because the putty had started to set, the surface was contaminated, or the two are incompatible chemistries.
- Distorted plastic tray: a flexible tray rebounded after removal, springing the arch back and widening the dimensions across the model.
Bite Registration and the Opposing Model
A perfect prep impression with a poor bite still produces a restoration you will adjust at fit. The interocclusal record tells us how the two arches meet, and it is as load bearing as the working impression itself.
- Record in the right relation: maximum intercuspation for most single units, centric relation when you are reorganising the occlusion. Tell us which on the docket.
- Keep it thin and rigid: a thin, fully set bite registration material seats accurately. A thick or unset record props the bite open and throws the vertical.
- Trim for verification: we trim bite records back to the cusp tips so they seat unambiguously on the models. Gross excess hides errors rather than fixing them.
Technique varies by case type, and getting it right is the cheapest insurance against a high restoration. We go deeper in our bite registration guide.
Sending a Case to Flora
Whether you send a conventional impression or a scan, the lab side is the same: a clear docket, a readable margin, and an accurate bite. We pour, scan, and fabricate from what arrives, so a few minutes of checking at the chair saves a remake at fit.
- Disinfect and protect: disinfect impressions per the material instructions, then pack so the tray cannot flex or seat material against the box in transit.
- Document the case: shade, material used, margin location, and the occlusal scheme you want. The more we know, the less we assume.
- Digital is welcome: we accept files from 3Shape, Medit, iTero, and Dexis, so a chairside scan reaches us with no model to ship.
- Turnaround: crown and bridge runs around 10 working days from a clean impression. A remake resets that clock, which is why margins and bite are worth the extra minute.
If you have not sent us work before, your first case is free, up to £100, with no invoice and no contract. Send a conventional impression or a scan and judge the fit on your own bench. For implant cases specifically, our implant restoration lab covers impression copings, scan bodies, and verification.
What is in a dental impression kit for crown and bridge?
A clinical impression kit is the chairside set you use to capture a prep: a rigid tray sized to the arch, tray adhesive, and an impression material in matched viscosities, typically a PVS putty with a light body wash, plus a bite registration material for the opposing record. It is not the same as an at home consumer kit, which is built for simple appliances rather than fitting restorations.
Is PVS or polyether the better impression material?
Both are accurate enough for crown and bridge. PVS is the forgiving default: stable for days, fine for a delayed pour, and the safest general choice. Polyether is hydrophilic and excellent in a slightly moist sulcus, but its stiffness makes removal harder around undercuts and bridge abutments. Match the material to the case rather than picking one for everything.
What dental impression tray should I use?
For multi unit fixed work, a rigid stock metal tray is the safest default because it resists the distortion that flexible plastic trays introduce on removal. Custom trays are worth the lab step for full arch implant and complex cases. Whatever you choose, the tray must clear the teeth by 2 to 3 mm all round and use fully dried, material matched adhesive.
How does the putty wash impression technique work?
A high viscosity putty provides bulk and support while a low viscosity wash is driven into the sulcus to record the margin. In a one stage technique both set together in a single seat; in a two stage technique the putty is taken first, relieved with a spacer, then a wash is reseated. Either way, retraction comes first, because no wash records a margin it cannot reach.
What causes an impression to be remade?
The most common causes are voids or bubbles at the margin from moisture, pulls and drags from a tray that moved before full set or failed adhesive, tray show through from a tight or mis seated tray, a missing or thick bite record, and wash delaminating from putty. Almost all are preventable by checking retraction, moisture, and the impression under a loupe before the patient leaves.
Can I send a digital scan instead of a conventional impression?
Yes. We accept intraoral scan files from 3Shape, Medit, iTero, and Dexis, so there is no model to ship and no impression to disinfect or pack. A clean scan and a clean conventional impression both fabricate well; the right choice depends on the case, the margin, and your workflow. intraoral scanning
