
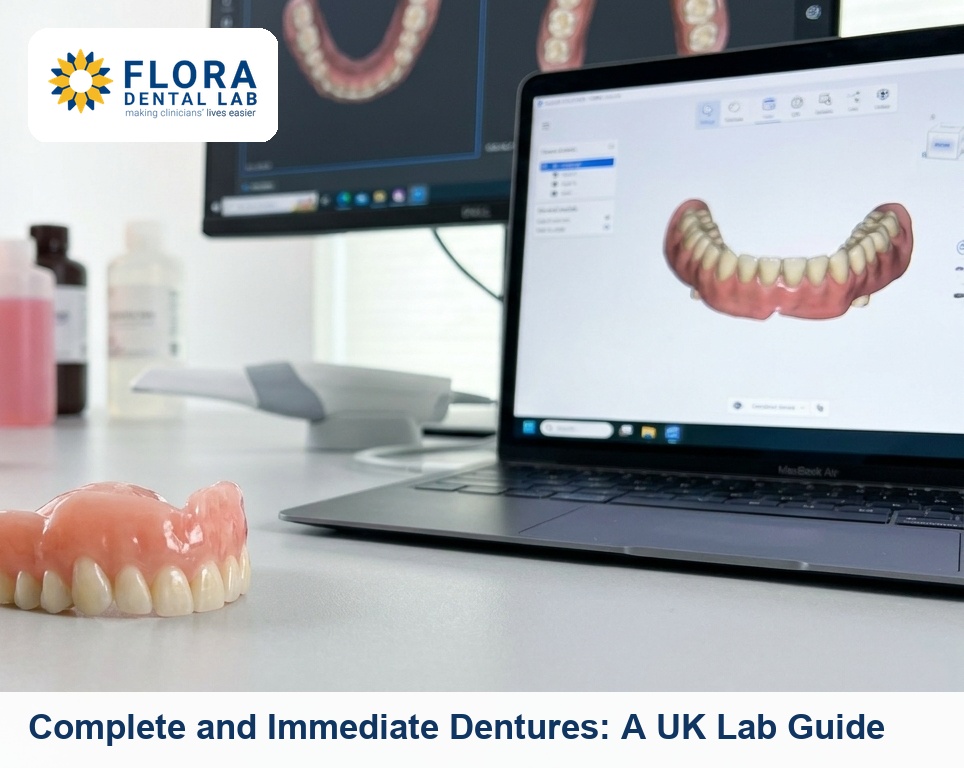
This UK lab guide covers complete and immediate dentures: one of the most stage-dependent cases we make. Get the impressions, jaw registration and try-in right and the fit looks after itself. It covers how we fabricate complete dentures and immediate dentures for practices across England, and what to submit at each stage.
We are a GDC-registered UK dental laboratory (DAMAS and DLA registered). Complete and immediate dentures turn around in 10 working days from a complete case, then travel to your practice anywhere in England by tracked courier.
Complete dentures sit in our removable prosthetics work alongside our acrylic and chrome partials, repairs and relines. If you want the wider picture first, start with our denture lab for dentists.
Complete Dentures vs Immediate Dentures
Both replace a full arch, but the workflow and the records we need are different. A conventional complete denture is made after extractions have healed, so we work from a stable, settled ridge. An immediate denture is made before the remaining teeth are removed and fitted on the day of extraction, so the patient is never without teeth.
- Complete denture: made on a healed ridge, more predictable fit, includes a full try-in stage you can verify in the mouth.
- Immediate denture: made from pre-extraction records, no anterior try-in is possible, expect a reline once the ridge has resorbed.
- Both can be acrylic or have a metal base. The choice changes what we need from you, not the stage sequence.
If the patient is moving from a partial to a full clearance, our repairs and relines page covers the interim options.
Stage 1: Primary (Preliminary) Impressions
The first stage records the whole denture-bearing area in stock trays. We are not chasing detail here, we are capturing the full extent of the ridge, the sulcus and the post-dam area so we can pour study casts and make a custom tray that fits.
- Material: alginate in a stock tray is fine at this stage, or a scan if you work digitally. Capture the full sulcus, not just the crest.
- Extension: record the hamular notches and the retromolar pads. If they are missing from the cast, the custom tray will be short and stage two suffers.
- Send us: the primary impressions or scans, the opposing arch, and a note of whether this is a conventional or immediate case.
From these we fabricate a close-fitting custom (special) tray with the spacing and handle position the case needs.
Stage 2: Secondary (Definitive) Impressions
The secondary impression is the one that defines retention. Taken in the custom tray, with border moulding, it records the functional periphery so the denture seals against the soft tissue. This is the stage that separates a denture that holds from one that drops.
- Border moulding: shape the periphery with greenstick or a heavy body so the denture finishes at the functional sulcus depth, not over-extended into the muscle attachments.
- Wash: a light body or zinc oxide wash over the moulded tray gives the surface detail we cast the master model from.
- Post-dam: mark the vibrating line if you want it placed precisely, otherwise we establish it on the cast to standard landmarks.
We pour the master cast and build the record blocks on this stage, so an over-extended or bubbled wash carries through everything that follows.
Stage 3: Jaw Registration
Jaw registration tells us how the two arches meet and where the teeth should sit. We return wax record blocks on the master casts. You adjust them in the mouth and register the relationship. This is the most information-dense stage you send back to the lab, so the more you mark, the closer the first try-in lands.
- Occlusal vertical dimension: set the freeway space and confirm the OVD before you register. The blocks come back at a starting height for you to refine.
- Centric relation: register the retruded contact position with the patient relaxed, not a habitual bite. Lock the blocks together so they do not shift in transit.
- Lip and midline: mark the high smile line, the midline and the canine lines on the upper block. These set tooth length and width.
- Shade and mould: select tooth shade and mould, and the gum shade if it is not standard pink. Note any character the patient wants kept from their old denture.
Send the registered blocks, the marked landmarks and the shade in one package so nothing is set from memory at the bench.
Stage 4: Wax Try-In
For a conventional complete denture we set the teeth in wax and return the try-in for you to verify in the mouth. This is your last full check before processing, so use it. The patient sees the result, you confirm the bite, the aesthetics and the speech, and we correct in wax rather than in cured acrylic.
- Check in the mouth: OVD and centric occlusion, midline, tooth show at rest and on smiling, lip support and phonetics.
- Patient sign-off: let the patient approve the look at try-in. Changes after processing mean a remake, not an adjustment.
- Return with notes: if it is correct, tell us to process. If not, mark the change and we reset, then re-try if the change is significant.
Immediate dentures skip the anterior try-in because those teeth are still present. We set the posterior teeth to the registration and pre-set the anteriors from the study cast, which is why a reline is part of the plan, covered in our repairs and relines guide.
The Immediate Denture Workflow
An immediate denture lets the patient leave with teeth on the day the natural teeth come out. The trade-off is that we are working partly blind on the extraction sites, so the records and the cast surgery have to be precise.
- Impressions: take primary and secondary impressions while the teeth to be extracted are still in place. We need the full ridge and the standing teeth recorded.
- Cast surgery: we trim the teeth from the master cast to mimic the post-extraction ridge, then set the denture teeth into that space. Tell us the extraction plan so we trim the right cast.
- Fit day: the denture is fitted straight after extraction, acting as a dressing over the sockets and supporting the clot. Schedule the review and the reline, because the ridge will resorb over the following months.
Plan the reline from the start. An immediate denture is a strong interim, not a finished fit, and the patient should know that before fit day.
Stage 5: Fit and Review
We process, finish and return the denture ready to fit. A clean master impression and an accurate registration usually mean light, localised adjustment rather than a struggle at the chair. Pressure-indicating paste finds the sore spots, articulating paper finds the high spots.
- Seat and check: check extension and retention first, then the occlusion in centric and on excursions. Adjust the fit surface for pressure, the occlusal surface for high contacts.
- Review: see the patient back within a week or two for sore spots. Most settle with minor easing rather than a remake.
- Reline timing: for immediate dentures plan a reline once the ridge has settled, typically a few months in. We can hard or soft reline depending on the tissue.
If a denture is comfortable but the patient wants a more refined fit and aesthetics from a digital workflow, our digital CAD CAM dentures guide covers scanned and milled or printed denture options.
Sending a Complete or Immediate Denture Case to Flora
We work to the stage sequence above and accept physical impressions or intraoral scans from 3Shape, Medit, iTero and Dexis. Tell us at the start whether the case is conventional or immediate, because it changes how we handle the cast from stage one.
- Per stage: primary impressions plus opposing arch, then secondary impressions, then registered blocks with marked landmarks and shade, then your try-in approval.
- Immediate cases: include the extraction plan so we perform the right cast surgery and pre-plan the reline.
- Accreditation: Flora is DAMAS registered, DLA affiliated and GDC registered, so every case is traceable and compliant.
If you have not worked with us before, your first case is free up to £100, with no invoice and no contract. Send one complete denture stage and judge the lab on your own bench.
Restoring the remaining dentition alongside a denture? See our crown and bridge work for the fixed side of the case.
What is the process for getting full dentures?
A conventional full set of dentures runs through primary impressions, secondary impressions in a custom tray, jaw registration, a wax try-in and the fit. Each stage builds on the last, so the lab needs a clean record at every step before moving on.
What is the difference between complete and immediate dentures?
A complete denture is made on a healed ridge after extractions, so it includes a try-in you can verify in the mouth. An immediate denture is made beforehand and fitted on the day the teeth are removed, which skips the anterior try-in and needs a reline once the ridge resorbs. reline once the ridge resorbs
What do I send the lab at each denture stage?
Primary impressions with the opposing arch, then border-moulded secondary impressions, then wax blocks registered with OVD, centric relation, midline, smile line and shade, then your try-in approval. For immediate cases add the extraction plan so we can do the cast surgery. denture lab for dentists
Can full dentures be made digitally?
Yes. We accept scans from 3Shape, Medit, iTero and Dexis and can produce milled or printed denture bases through a digital workflow. It can compress chair time and gives a reproducible record if the denture needs remaking later. digital CAD CAM dentures
Do immediate dentures need a reline?
Almost always. The ridge resorbs after extractions, so an immediate denture loosens over the following months. Plan a hard or soft reline once the tissue has settled, usually a few months after fit, rather than treating the first fit as final. hard or soft reline
Can I restore other teeth at the same time as a denture?
Yes. Where the patient keeps some teeth or moves to a partial later, we can fabricate the fixed restorations alongside the denture work so the occlusion is planned as one case. fixed restorations
