
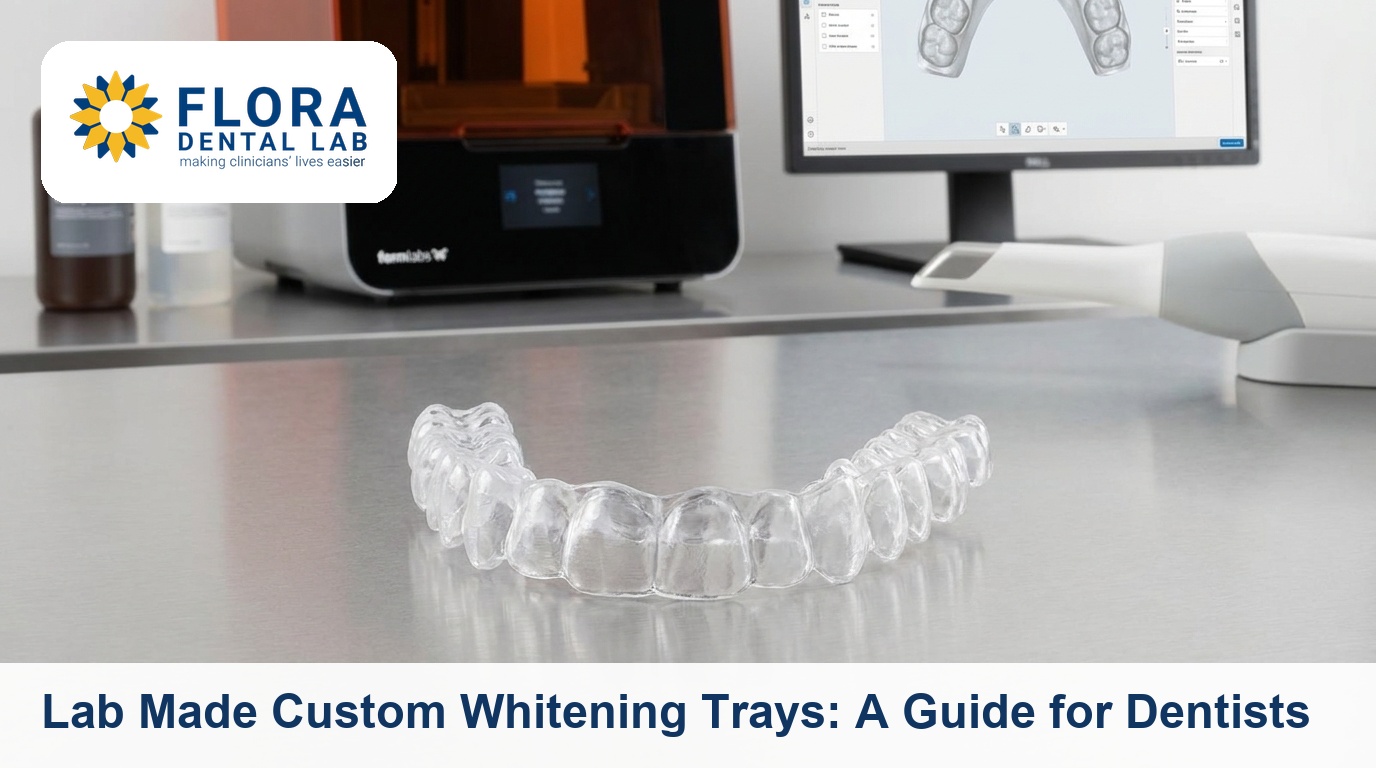
A whitening tray is a custom thermoformed appliance that holds bleaching gel against the teeth. We fabricate scalloped or reservoir designs from your impression or scan, finished to fit and ready to dispense.
This guide covers how we build a whitening tray that seals correctly: the two main designs, material and thickness, what we need from you, and how it fits into our digital dental lab workflow.
What a Custom Whitening Tray Is
A custom whitening tray is a thin, flexible appliance thermoformed over a model of the patient’s arch. It holds carbamide or hydrogen peroxide gel against the enamel for the wear time the dentist prescribes. Because it is built from the individual arch, it seats accurately and keeps gel on the teeth rather than spilling onto the gingiva.
This is the difference your patients feel against an over the counter boil and bite tray. A stock tray cannot reproduce the gingival margin or the embrasures, so gel migrates, the seal is poor, and results come out patchy. Lab made bleaching trays solve the fit problem at source, which is why dentists dispense them for supervised take home whitening.
We make whitening trays as single arch or paired upper and lower, to whatever wear protocol and gel system you run in the practice.
Scalloped vs Reservoir Tray Designs
The design choice is the main clinical decision, and it changes how we trim and block out the model. Tell us which you want when you submit the case, or we default to a scalloped fit.
- Scalloped: the tray edge follows the gingival contour and stops at the cervical line of each tooth. This keeps gel off the gingiva, which suits higher concentration gels and patients prone to soft tissue sensitivity. It is the cleaner margin but takes more finishing.
- Reservoir: we add a thin spacer to the labial surfaces before forming, creating a small space that holds a defined volume of gel. This gives even gel coverage and a consistent dose per tooth. Often paired with a straight cut, non scalloped margin.
- Straight cut, no reservoir: a simple straight trim 1 to 2 mm past the gingival margin with no spacer. The most economical option, suited to lower concentration gels and shorter wear times.
Scalloped and reservoir are not mutually exclusive. We can scallop the margin and add reservoirs if you want both gingival protection and controlled gel volume. State the combination you prefer on the lab slip.
Material and Thickness
We thermoform whitening trays from soft EVA bleaching foil. The standard is a clear, flexible sheet that is comfortable for overnight or daytime wear and seals against the teeth without rocking.
- Standard thickness: 0.9 to 1.0 mm soft EVA suits most take home cases and overnight wear. It is flexible, easy to seat, and forgiving on minor undercuts.
- Heavier thickness: 1.5 to 2.0 mm gives a firmer, more durable tray for patients who clench or want a longer service life. Slightly less flexible to seat over pronounced undercuts.
- Finish: we trim, smooth, and polish every edge so there are no sharp margins against the gingiva, then check the seat on the model before it ships.
If you do not specify, we form in standard soft EVA with a scalloped margin. Note the gel system you intend to dispense so we can match reservoir placement to it where relevant.
Why Fit Decides the Result
The whole value of a custom tray is the seal. When the tray adapts tightly to each tooth and stops cleanly at the margin, gel stays where it should and the patient gets even whitening with minimal gingival contact. A loose or over extended tray lets gel pool and irritate tissue, which is the complaint patients bring back to the chair.
Fit starts with the input we receive. An accurate impression or a clean intraoral scan gives us a model with crisp margins and correct embrasures, and the tray reflects that. A distorted impression produces a tray that rocks no matter how carefully we form it.
Fit is also why we finish every tray on the model rather than freehand. The seat is verified before it leaves us.
What to Submit
We accept both physical impressions and digital scans for whitening trays. Either route works; the digital one is faster and avoids transit damage.
- Intraoral scan: send a full arch STL from any system we work with, including 3Shape, Medit, iTero, and Dexis. Capture the full gingival margin and the most distal teeth in the arch.
- Physical impression: a well extended alginate or PVS impression of the full arch, free of voids at the margins and drags in the sulcus. Disinfect and post promptly so alginate does not distort.
- On the lab slip: state single or dual arch, the design you want (scalloped, reservoir, straight cut, or a combination), thickness if not standard, and the gel system if relevant.
If you are already sending us digital cases, whitening trays slot straight into the same scan workflow. See our impressions and trays page for accepted formats and submission detail.
Whitening Trays and Shade Records
A whitening tray is the delivery device, not the shade plan, but the two go together. Record a baseline shade before treatment so you and the patient can judge the result objectively, and again at review. This matters more for whitening than for most restorative work because the change is gradual and patients underestimate it without a reference.
If you also send us restorative cases, keep your whitening and restorative shade records consistent so any future crown or veneer matches the whitened result rather than the starting shade. Our shade taking guide covers how to capture and communicate shade reliably.
Turnaround and Logistics
Whitening trays are a quick item compared with crown and bridge work. Once we have a usable scan or impression, fabrication is straightforward thermoforming, trimming, and finishing, so trays turn around well inside our standard crown and bridge timeframe of around ten working days.
- Digital cases: an accepted STL goes straight to the model and form stage, with no transit time on the way in.
- Physical impressions: add postal time both ways. Send promptly so alginate does not dry out and distort before it reaches us.
- Dual arch: upper and lower are formed and finished together with no added delay over a single arch.
Sending a Case to Flora
Flora Dental Lab is a UK dental laboratory working to DAMAS, DLA, and GDC standards. We make whitening trays for UK practices alongside our crown, bridge, and restorative work, on the scanners you already use.
Your first whitening tray case is free, up to a value of £100. No invoice, no contract. Send us a scan or impression, tell us the design you want, and we will fabricate the tray so you can judge the fit and finish on your own patient before you commit anything.
Want trays as part of a fully digital pipeline? See how we run scan to fabrication on our digital dental lab page above.
Do custom whitening trays actually work better than over the counter trays?
Yes, and the reason is fit. A lab made tray adapts to each tooth and stops at the margin, so the gel stays on the enamel and off the gingiva. Boil and bite and prefilled trays cannot reproduce the arch, so gel migrates and results come out uneven.
What is the difference between scalloped and reservoir whitening trays?
A scalloped tray follows the gingival contour and stops at each tooth’s cervical line to keep gel off the gingiva. A reservoir tray has a thin spacer formed onto the labial surfaces to hold a defined gel volume per tooth. They can be combined for both gingival protection and controlled dosing.
How thick should a custom whitening tray be?
Standard soft EVA at 0.9 to 1.0 mm suits most take home cases and overnight wear. We form a heavier 1.5 to 2.0 mm tray for patients who clench or want a longer service life. If you do not specify, we use standard thickness with a scalloped margin.
Do you accept digital scans for whitening trays, or only impressions?
Both. Send a full arch STL from any system we work with, including 3Shape, Medit, iTero, and Dexis, or a well extended alginate or PVS impression of the full arch. The digital route is faster and avoids transit distortion. See our impressions and trays page for accepted formats.
How long do lab made whitening trays take to fabricate?
Once we have a usable scan or impression, trays turn around comfortably inside our standard crown and bridge timeframe of around ten working days. Digital cases skip inbound transit time, while physical impressions add postal time both ways.
Can I send a whitening tray case as part of a digital workflow?
Yes. Whitening trays slot into the same scan based workflow we use for restorative cases, so you can submit them alongside crowns and bridges. Our digital dental lab page sets out how scan to fabrication runs end to end.
